Repair Sony Aibo Head Tilt Joint

This document is intended to help you repair the head tilt joint of a Sony Aibo yourself. The following procedure was first used in summer of 2001 in Gantikow after we (the GermanTeam) had "lost" several of these tilt joints in only a few months (see Headcrash1). A similar description can be found at Aibohack. Because we were not satisfied with these descriptions, this document was written after a big repair session in October 2002. And here it comes:

0. preparations


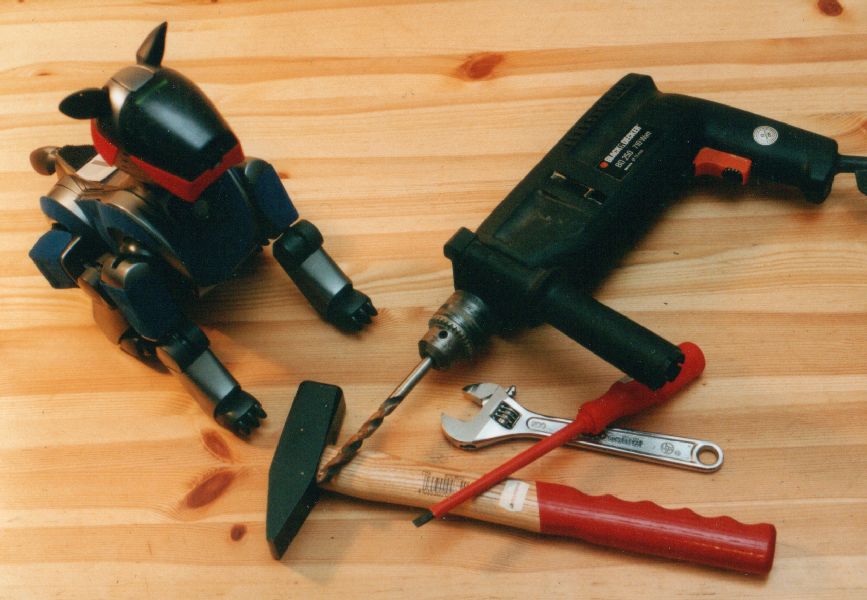
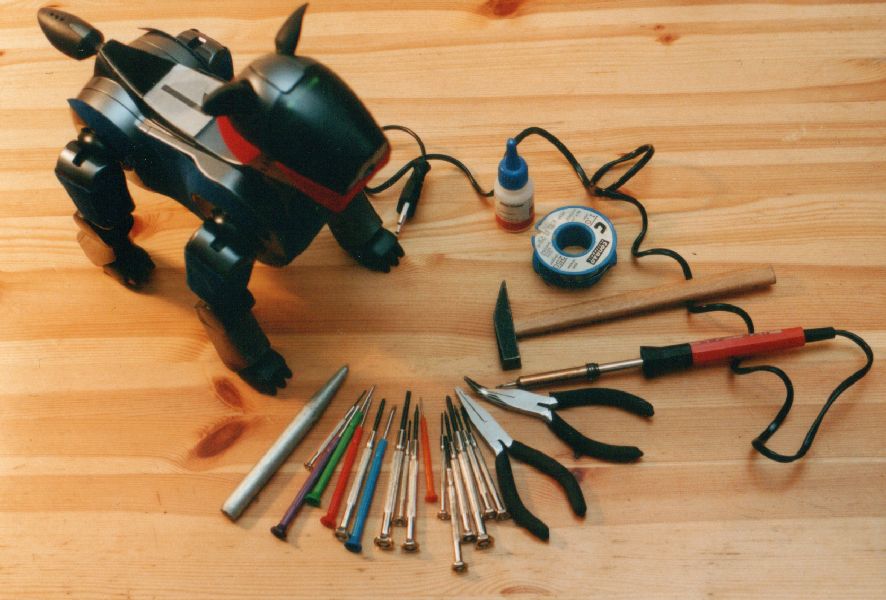
these were supposed to be the wrong tools

these were supposed to be the right tools

1. remove screws


2. open the case


3.a remove the head to longer the neck (the sophisticated a.k.a. Uwe's method), can be left out if you like it harder


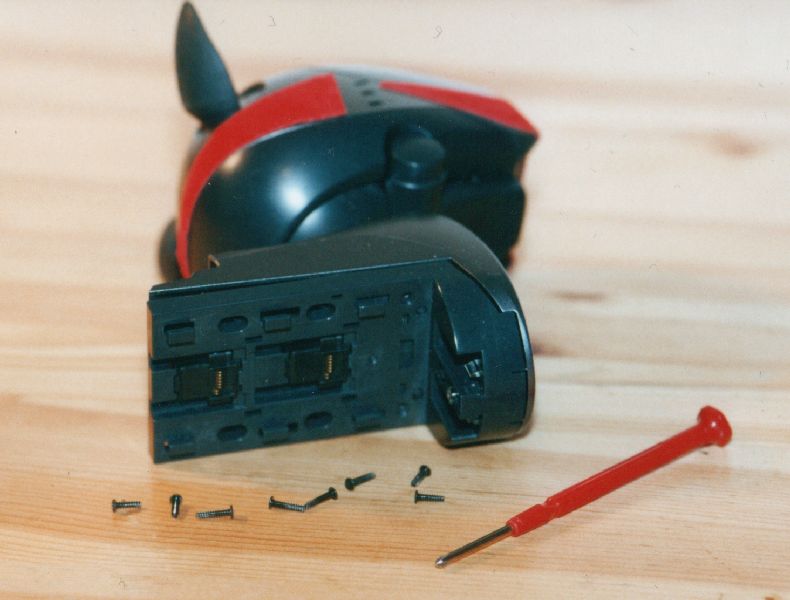
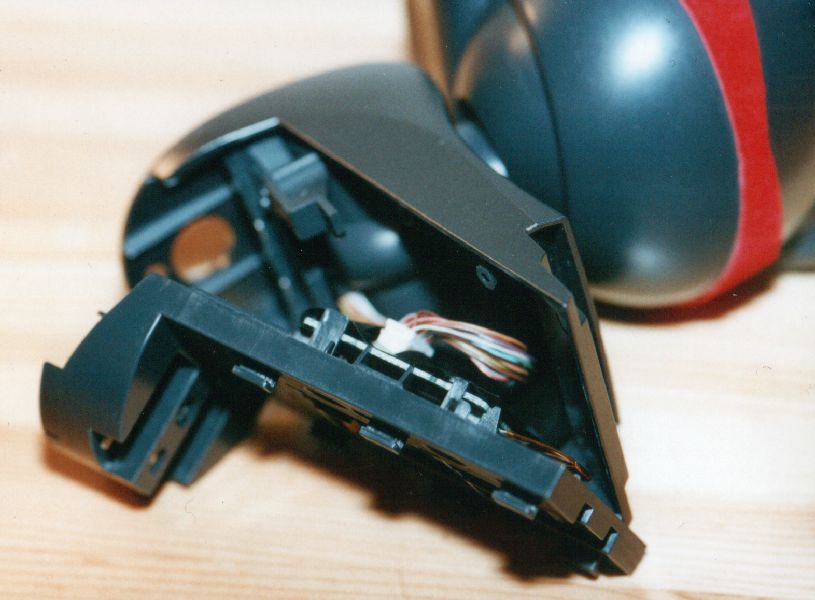
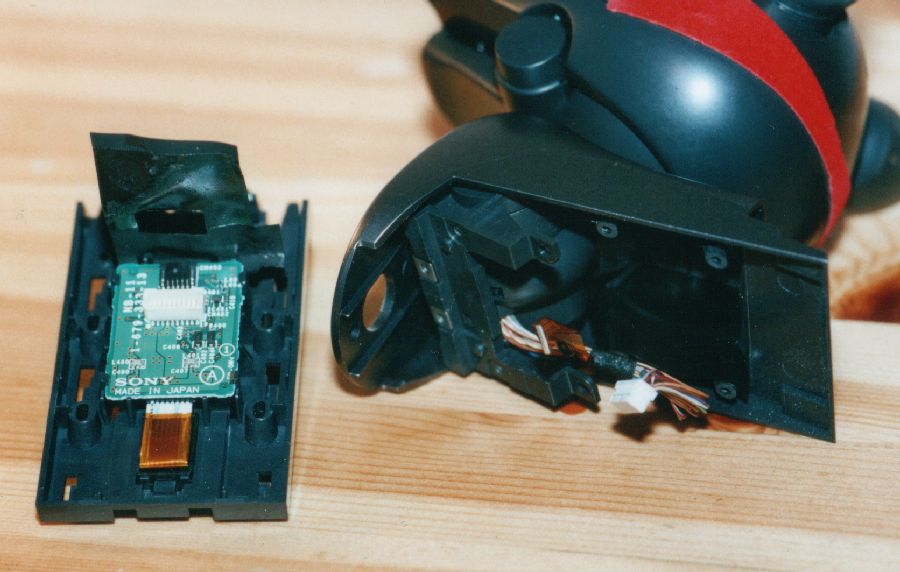
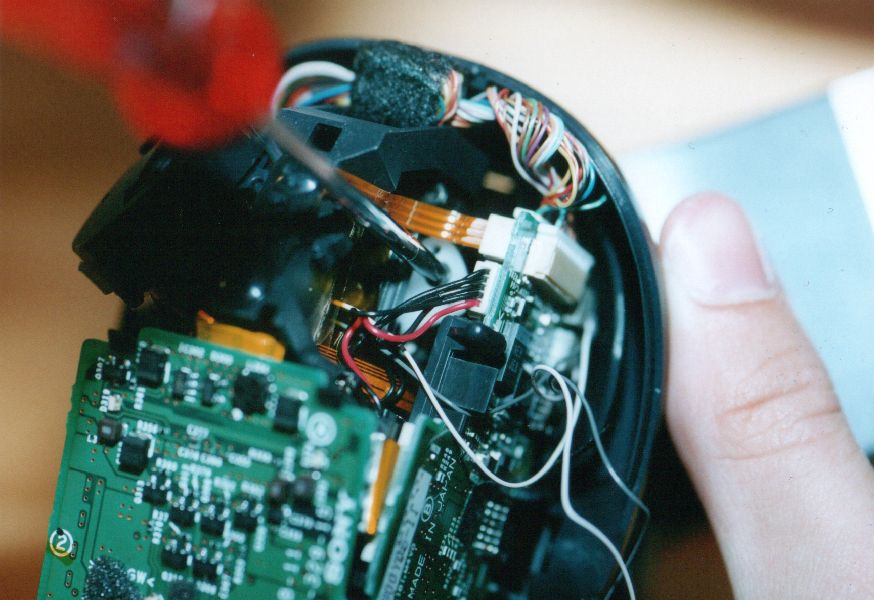
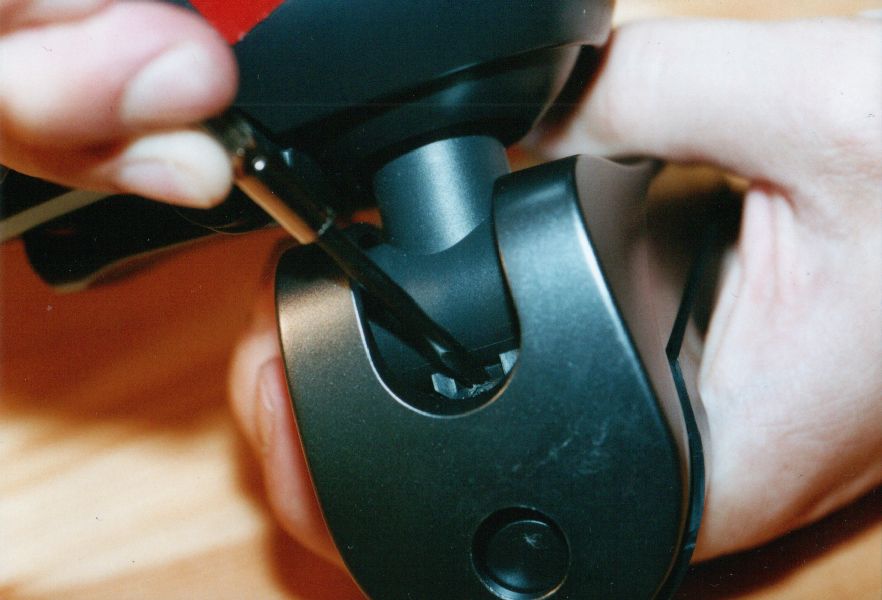
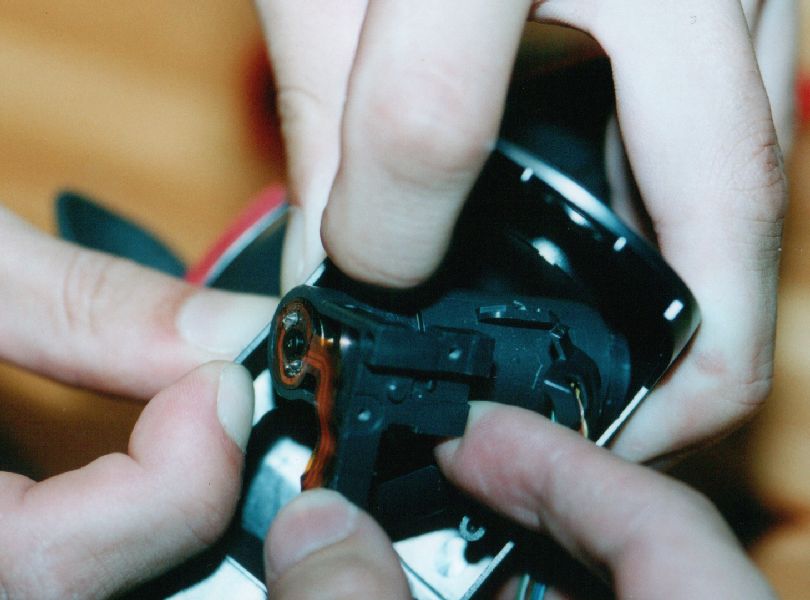
remove the head cover and screws

remove one ear

remove the screw that holds head and neck together

3.b may be a little more space by detaching the neck cable holder


4. start to free the tilt joint

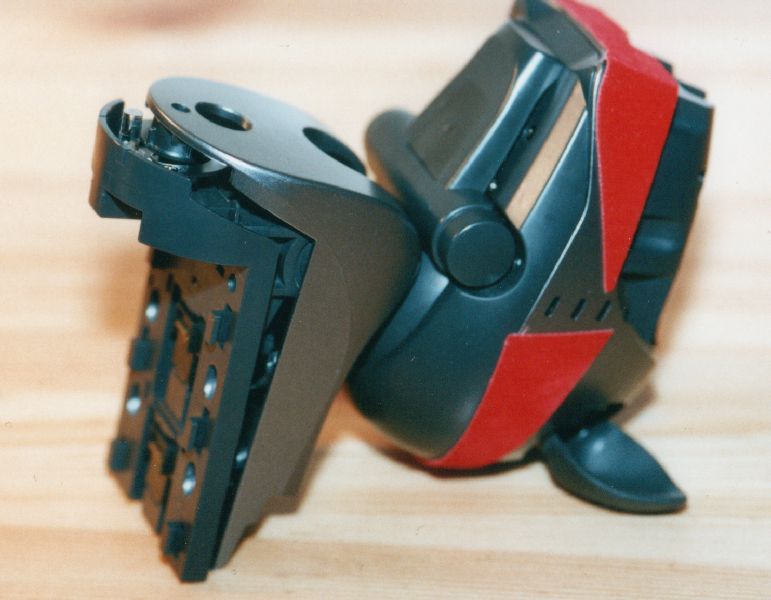
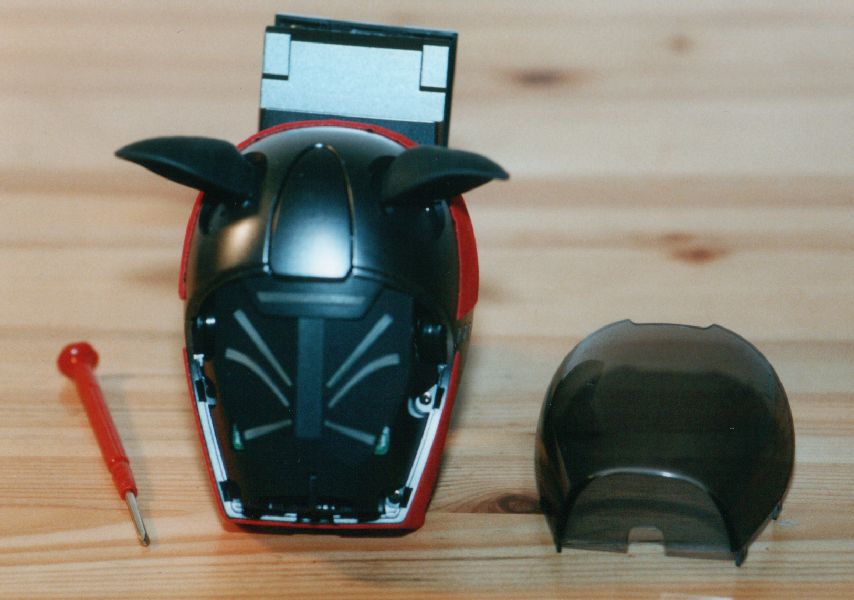
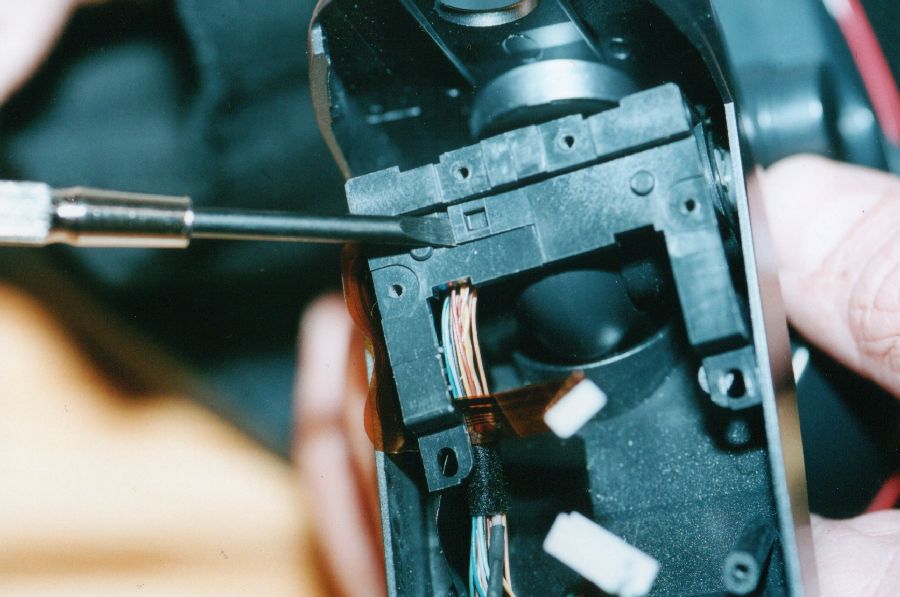
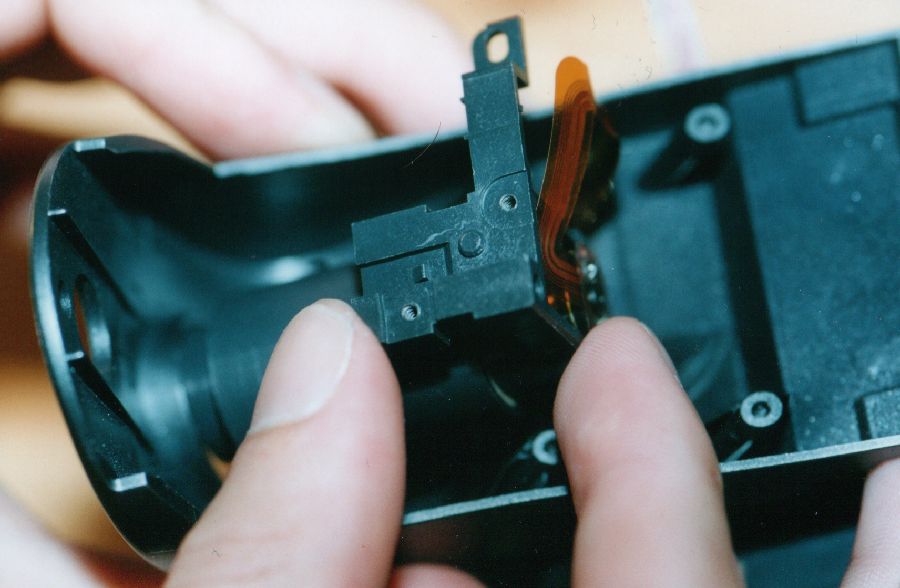
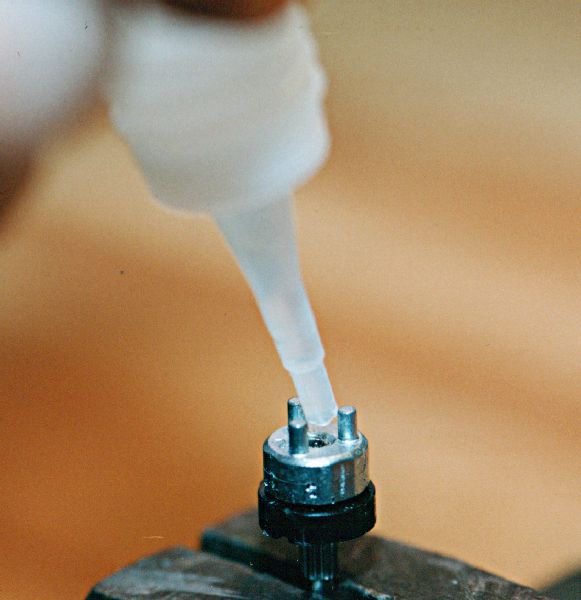
before that, you will have to remove the metal part

5. free the tilt joint (without point 3 it's bending the cover, the brutal Aibohack method)


6. unsolder the ribbon cable


7. free the tilt joint


8. prepare opening the gear box

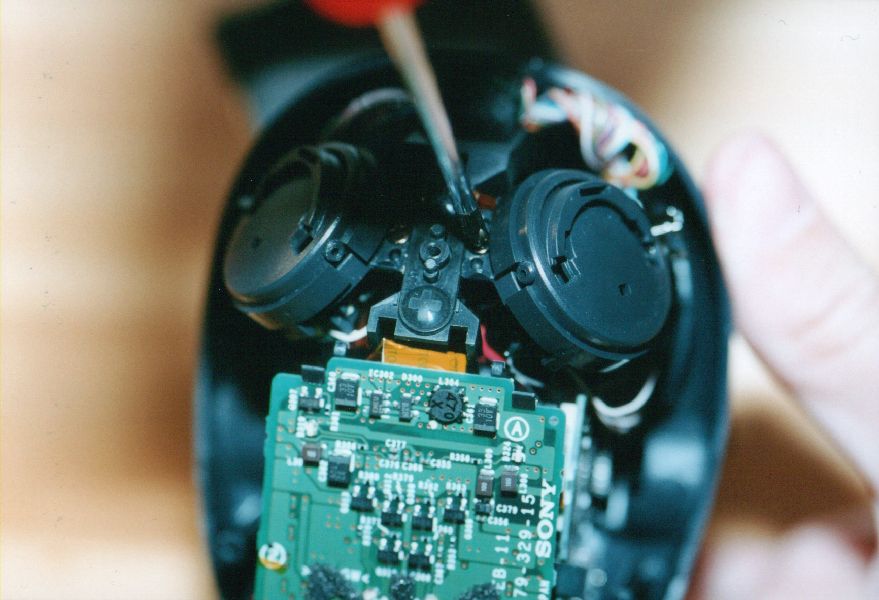
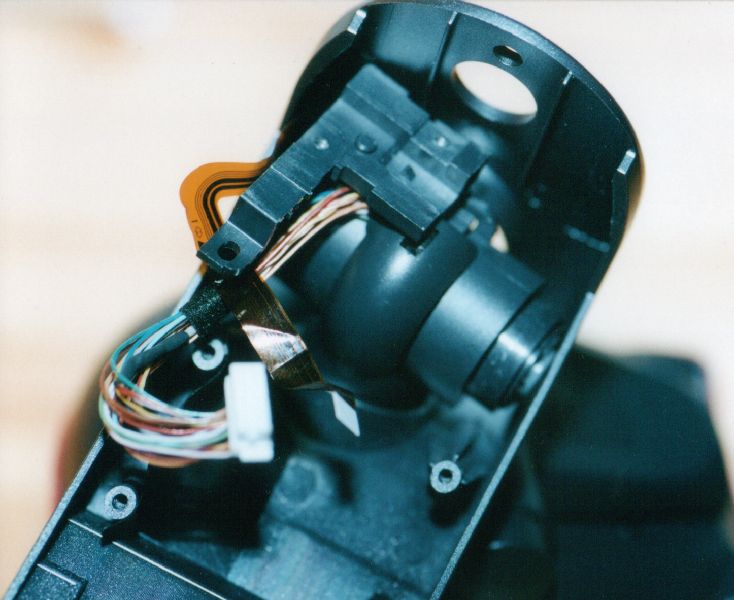
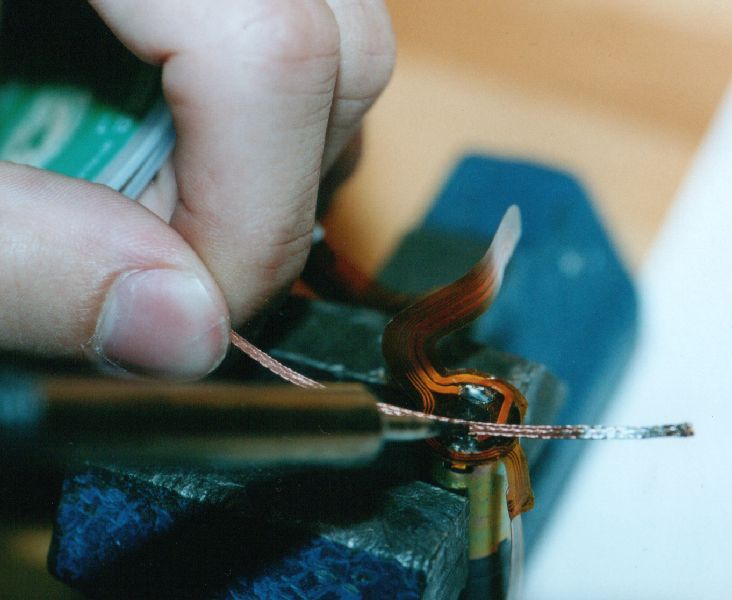
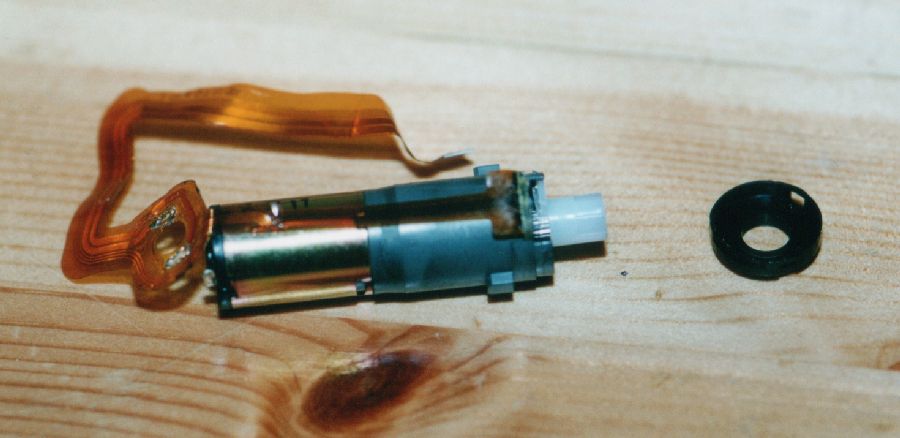
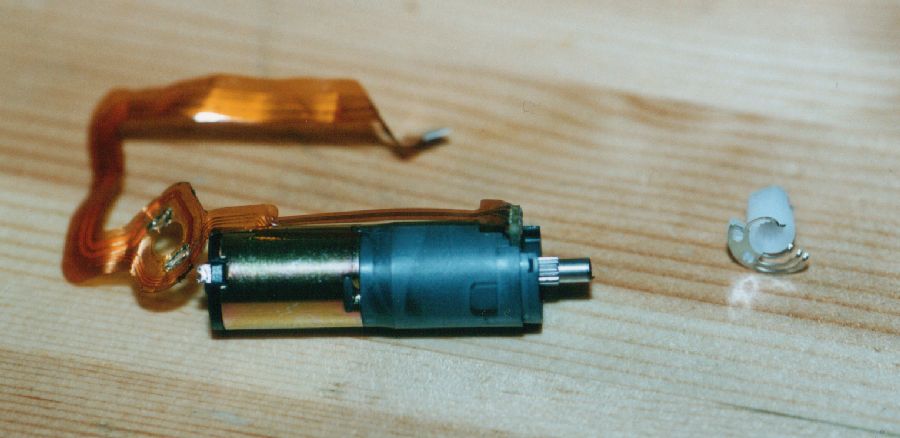
remove white plastic part (you do not have to remember the direction, it's obvious), black protection cap, potentiometer slider and potentiometer

9. open the gear box


10. fix loose parts

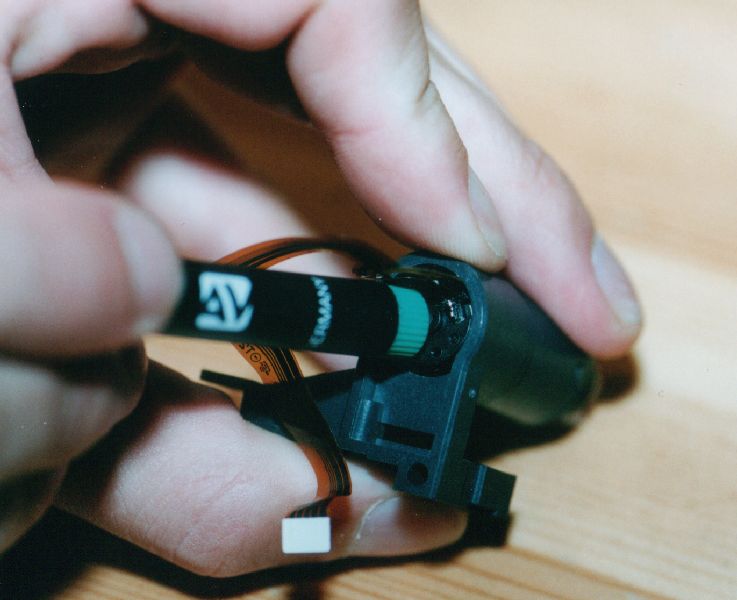
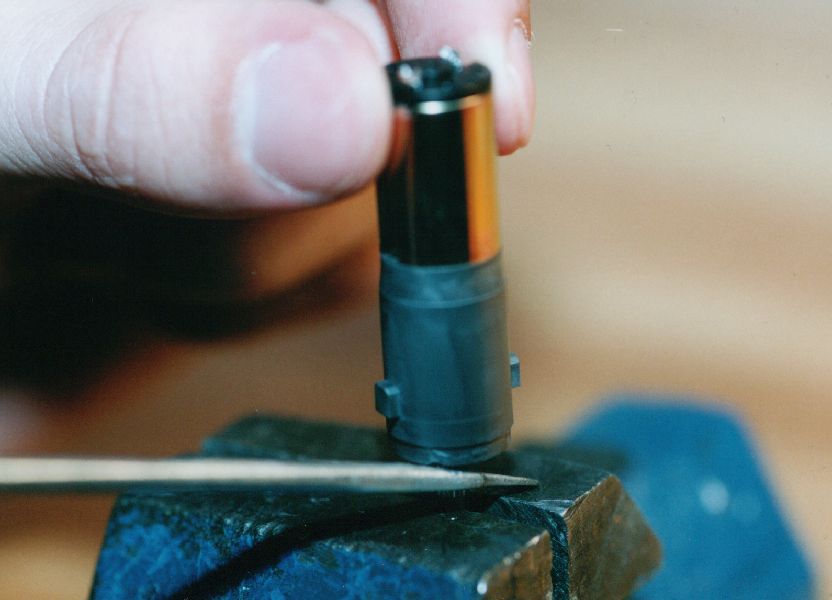
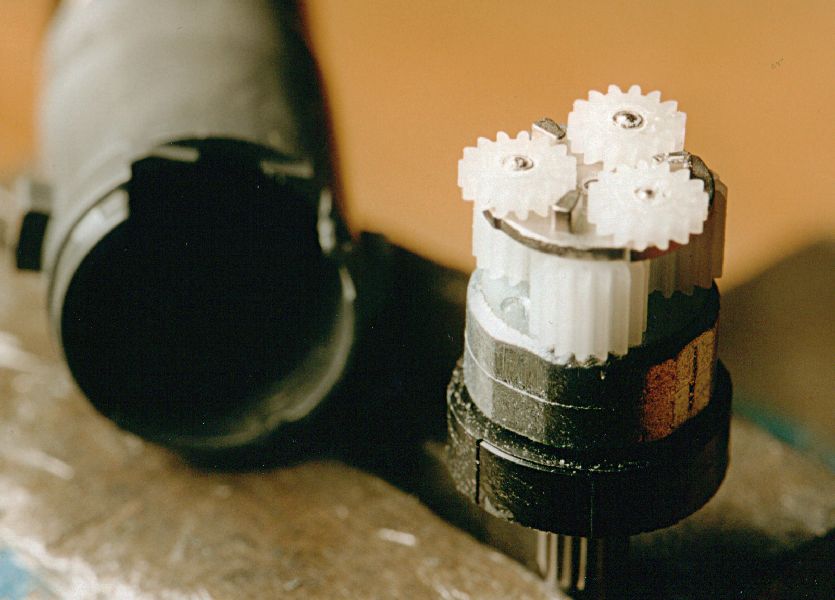
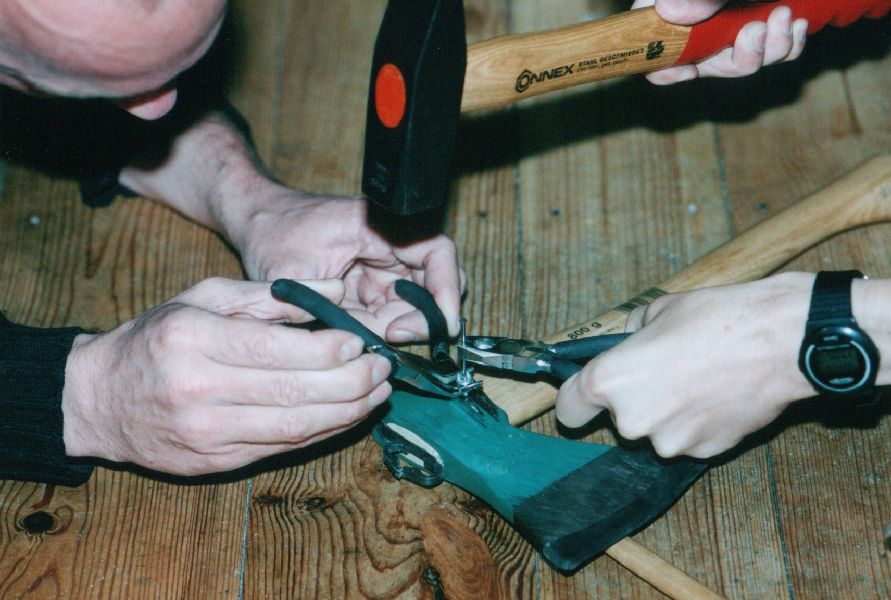
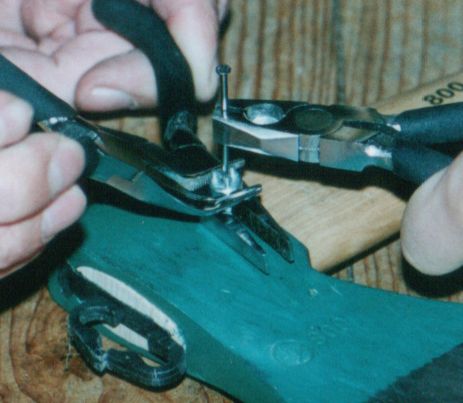
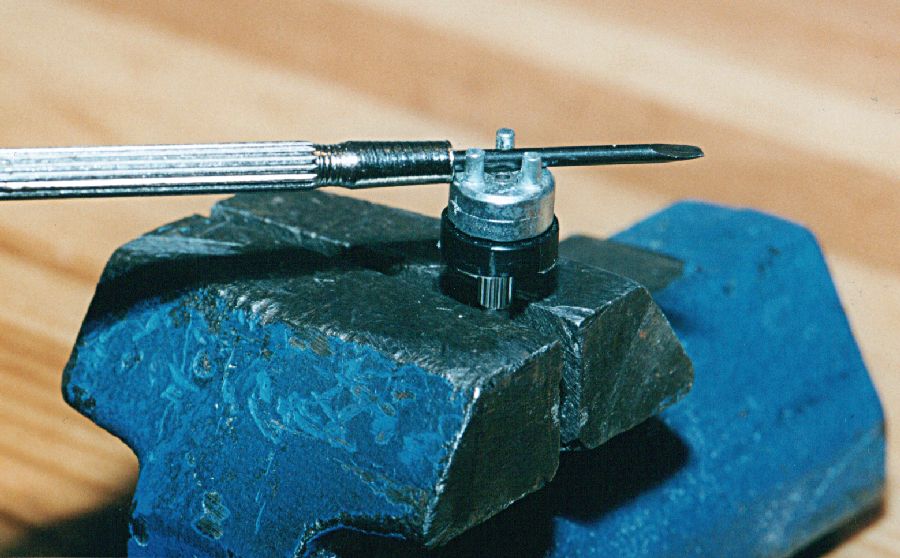
Well, now you can see the problem: the metal bar can move inside the metal ring. We have no idea if that happens by purpose
(to protect the gear) or not, but after fixing that we can move the head as we would expect it again. Fixing might
be done with a couple of nails spreading the hole in the metal bar.

11. check success and improve fixedness with special glue


12. reassemble the head


Appendix A. some words about the costs


Appendix B. some words about repairing the pan joint